Today I started on a new project I call Spacial Freeze. The general idea is the player is stuck in a Cryochamber, and needs to use telekinesis to move objects in the room to find out how the escape code.
One idea I had was given they have telekinesis, they should be able to sense what’s in the room even with their eyes closed. Thus I wanted to be able to show them the objects in the room but only by border. Also the graphic should look cool – that is I wanted lightning-like borders.
A good start seemed to be to get some kind of border. This is a somewhat well known practice you can read how at either of these blogs:
- https://danielilett.com/2019-05-29-tut2-intro/
- https://learnopengl.com/Advanced-OpenGL/Stencil-testing

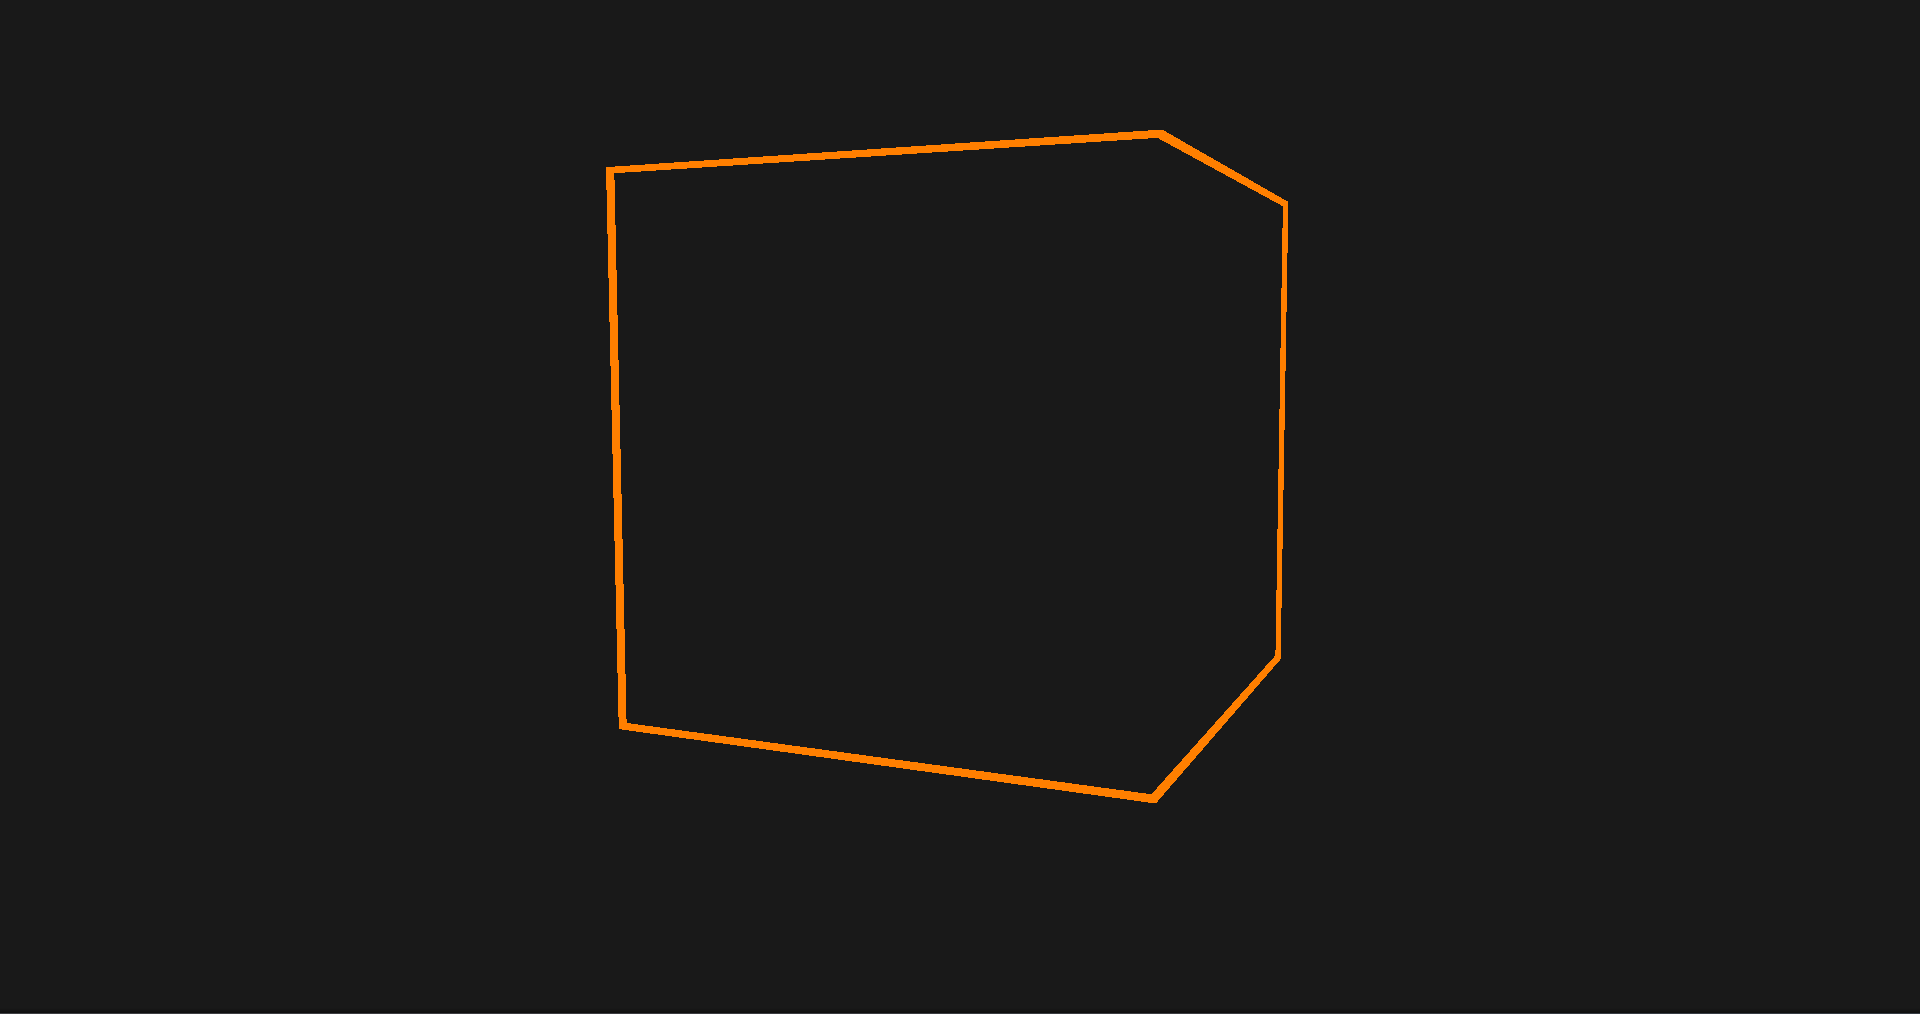
This is what the cube looks with the border applied
Now this was a good start, but it could be made to look a lot better and convey the feel that it’s only a feeling of where things are.
In order to make such movement, there are two options. One is to mess around with the geometry shader and change the shape of the cube itself. However that would be very difficult and awkward to do, so I immediately left out that option. This left doing it in the fragment shader. I would either need to choose only some pixels to render orange, or, render the scene first and apply some post-processing. The latter was the one I chose as it also respected objects in the collision box but behind.
The starting step was to create a framebuffer and save the scene above as a texture. Causing every part of the cube to move in its own direction is hard, but you could simulate it by making rows of pixels move in the same direction, then do the same with columns. So I started by making a 1 dimensional texture whose values determined its displacement. It needed to be fluid, so the next frame had to be both close to the previous, but also not move out too far.
Probabilistically, it should have both a normal distribution over both 0 and it’s current position.

I found the simple solution was to just use the mean as the position divided by 2. Once this was done, all there was to do was create the actual structure.
class Lightning {
public:
    void update(float std);
    int getTexture() const;

private:
    std::random_device rd;
    static unsigned const int dataLength = 1024;
    float data[dataLength];

    float update(float initial, float std);
};
It’s quite simple – an update method for individual values, an update method for the whole texture, and a method to retrieve the texture value. For the texture I simply used this function:
glTexImage1D(GL_TEXTURE_1D, 0, GL_DEPTH_COMPONENT, 1024, 0, GL_DEPTH_COMPONENT, GL_FLOAT, data);
This specified it was a 1 dimensional texture, with 1 float value per point between 0 and 1 and using 1024 values. Once this was done, all there was to do was the shader.
float findLightning(sampler1D tex, float pos) {
    float average = 0.0f;
    float size = 1024;
    int number = 10;
    float max = 0.02;
    for (int i = -number/2; i < number/2; i++) {
        float lightningVal = texture(lightningX, pos + i/size).r;
        lightningVal = (lightningVal * 2) - 1;
        if (lightningVal < -max) lightningVal = -max;
        if (lightningVal > max) lightningVal = max;
        average += lightningVal;
    }
    average = average / number;
    return average;
}
This finds the average of the number of values and makes it the actual value. This is done to smooth the values so you don’t get some really far apart. Inside the for loop I retrieve the value for that specific height. Because the textures values are clamped from 0 to 1, I need to convert between [0, 1] and [-1, 1]. Finally I clamp the value retrieved as some values were far outside the expected range.
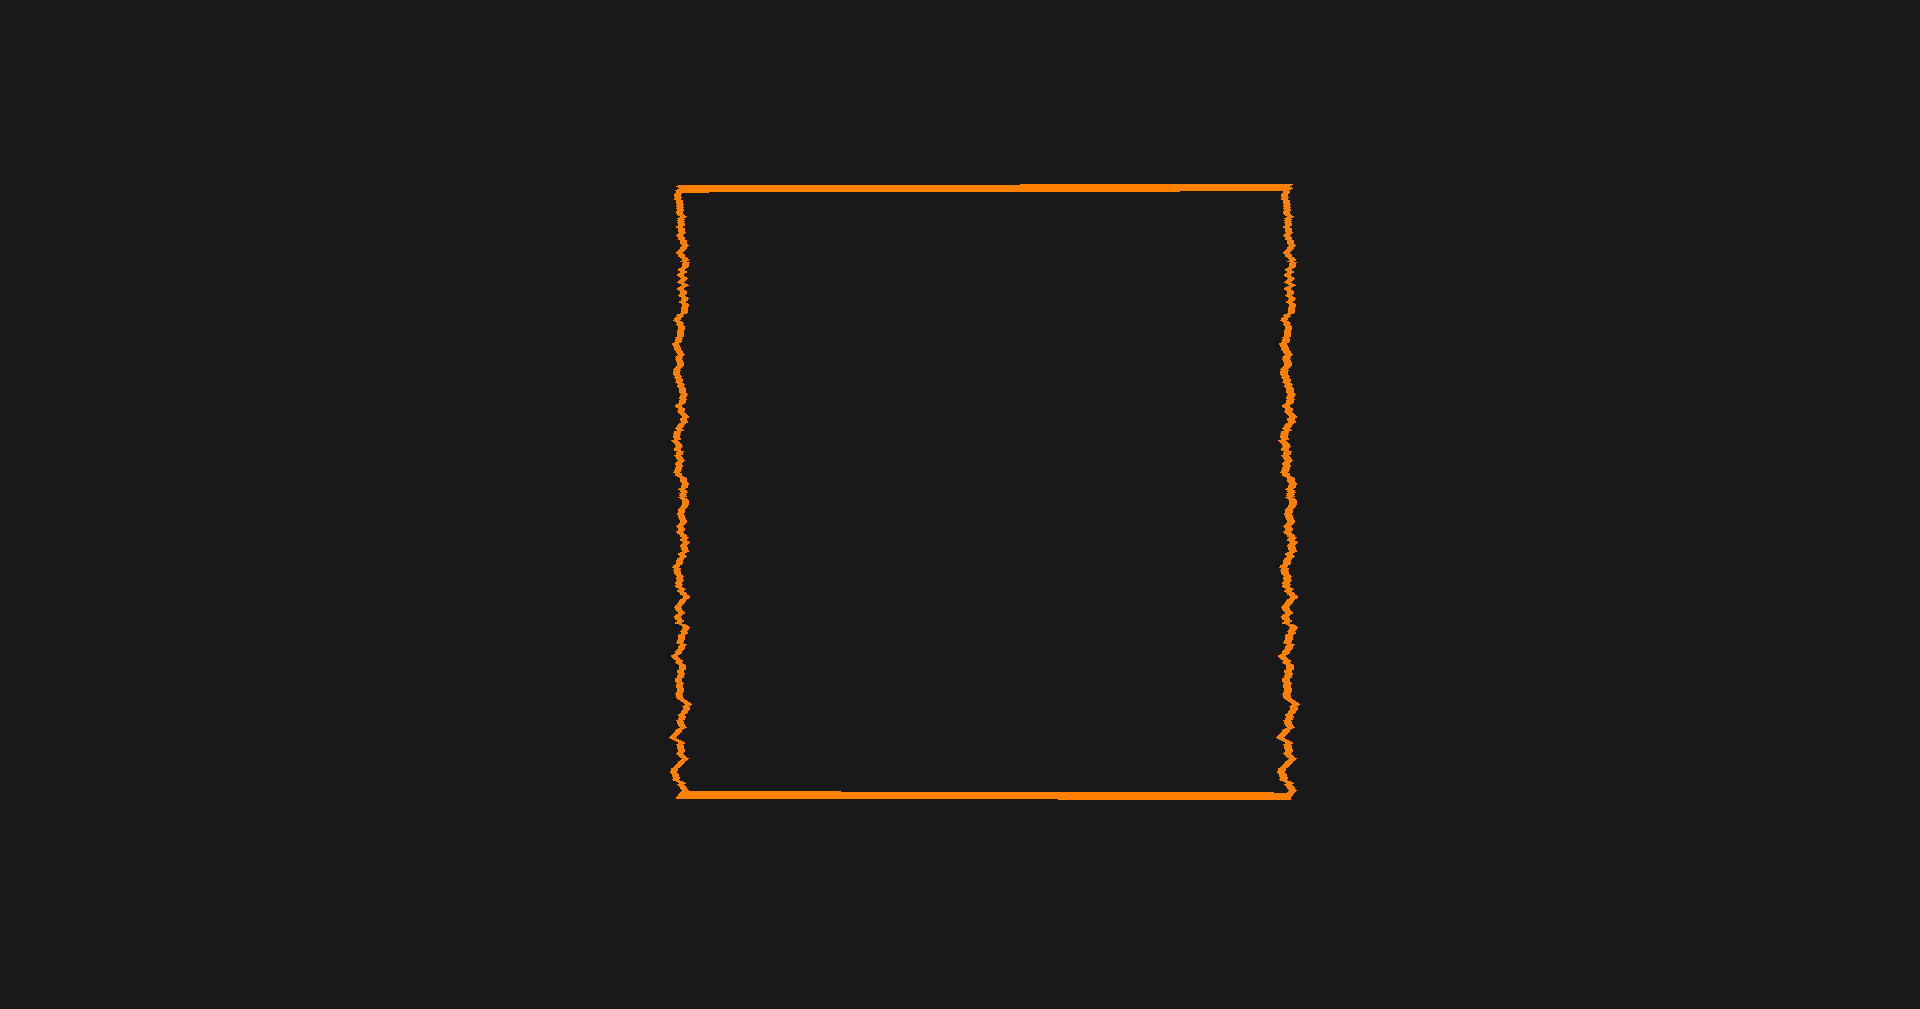
With the values, all you need to do is offset the texture coordinate you take by the result. This gives a really nice effect:

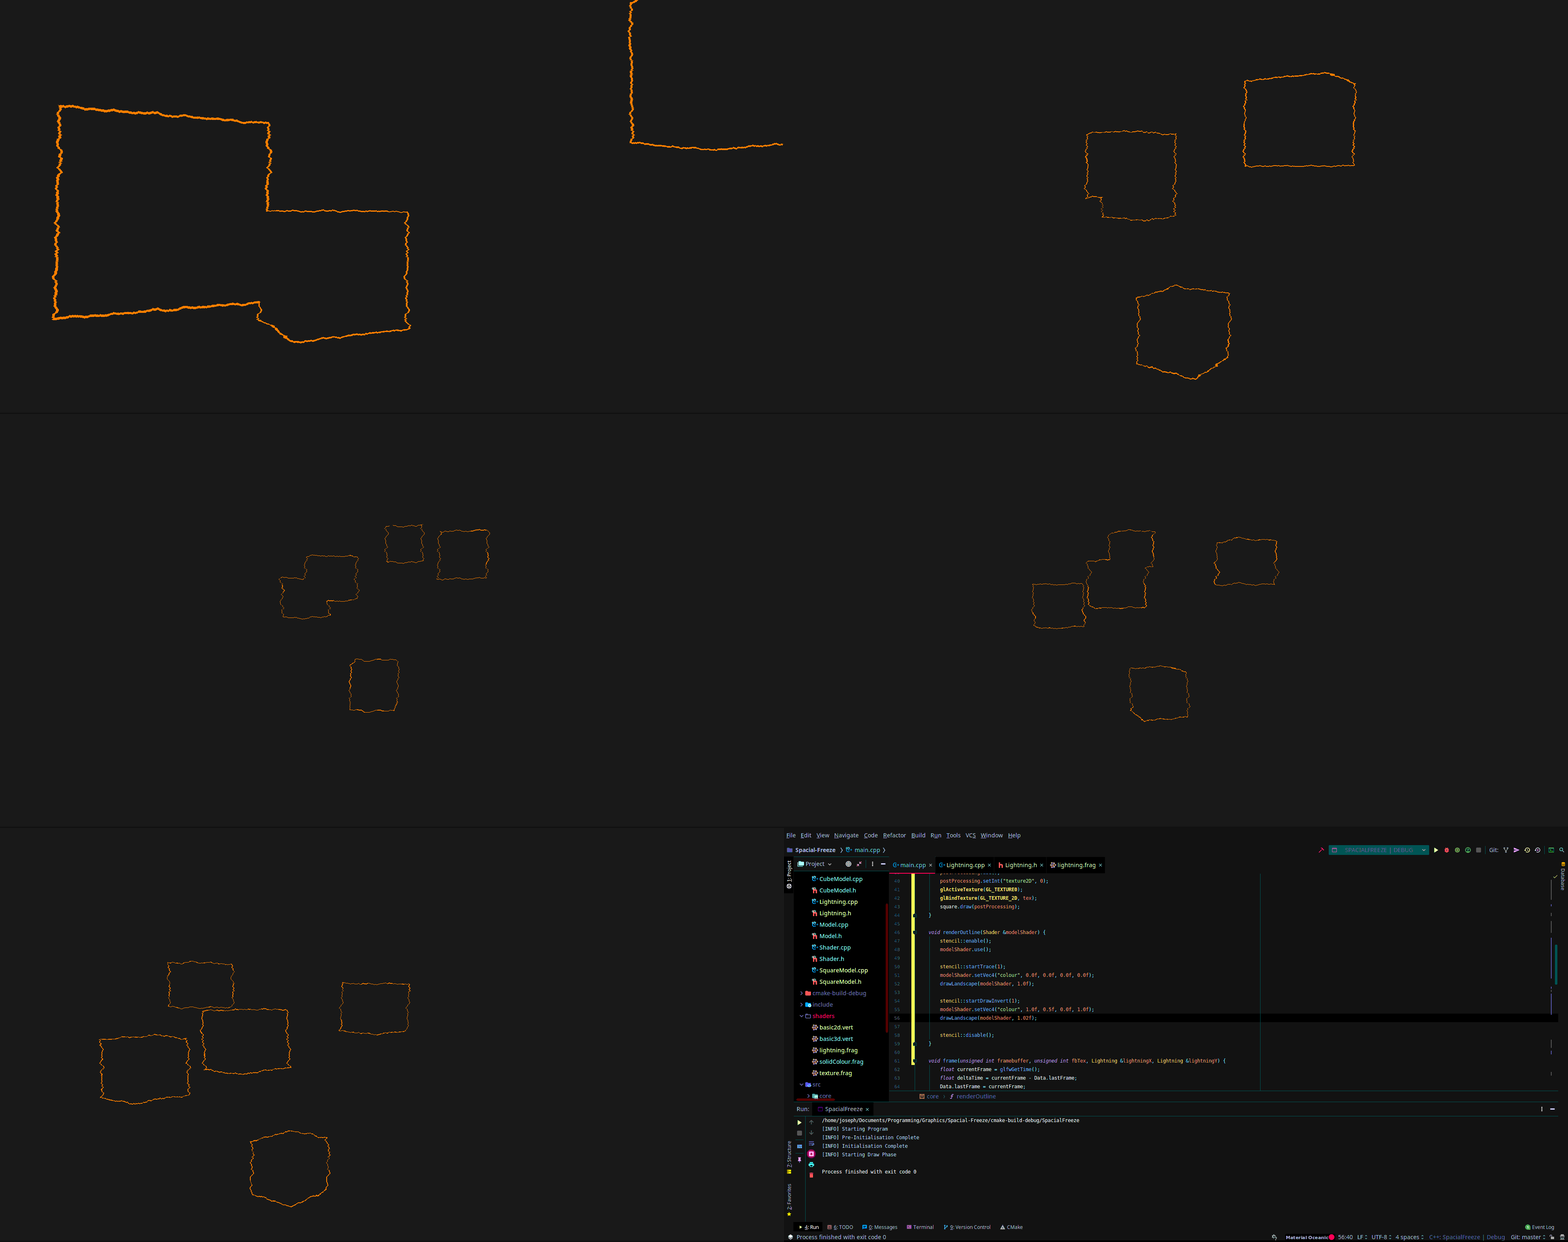
However, this can be improved. You see the top and bottom are flat using this method. You can solve this by doing the same with columns. Doing this too gives the final desired effect:

That’s it for this tutorial!
You can find the project code here